Tip of the Day 117: Track QC Parts with the Part Sampling Tool
On a recent consulting trip we were able to track a problem with a part by looking at summary data over nearly a 2 year period. We found an area where the pressure cycle integrals had run high. They had sampled parts all through the period and still kept them (being a medical part). But we had a problem trying to determine which parts were sampled when. The customer had batch numbers and the molder had theirs (though all named by date only and not time).
Here is a suggestion:
Every shot removed from the machine and sent out for QC or specification testing should be taken with the „Part Sampling“ tool on the eDART.
No exceptions. If a part is removed from the production line for any reason (other than scrap) it should be marked.
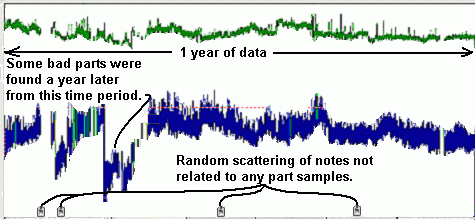
This way, whenever a measuring question arises you can find out exactly when those parts were made, what was happening in the cavity or how the machine was set up at the time. In this graph notes were only taken on a sporadic basis: experiments, tool maintenance etc.
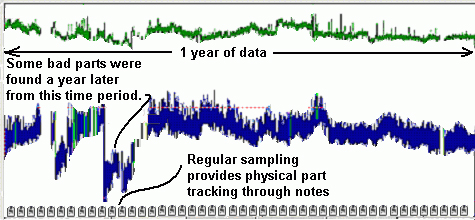
Here Part Sampling recorded notes for each „group“ (sample) on a regular basis. The parts that were made during the suspicious period are documented by sample or batch number and the data can be matched to them.
This greatly reduces the time to find a root causes. You do not need to go through the whole process of entering part measurements into the analyzer and doing correlations. This suggestion is simply for tracking for future problem solving.
Starting and Using Part Sampling
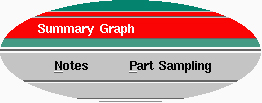
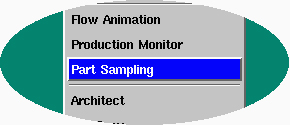
For those who have not used it, the Part Sampling tool can be started from the Summary Graph on the top menu bar shown here…
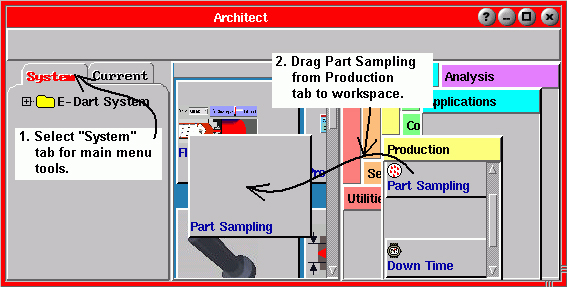
You can also use the Architect to drag it on to the Main Menu (on Architect’s System tab) if you want it running only when sampling.
Or you could drag it onto „Molds“ if you want it to be always available on every job (and can’t be stopped).
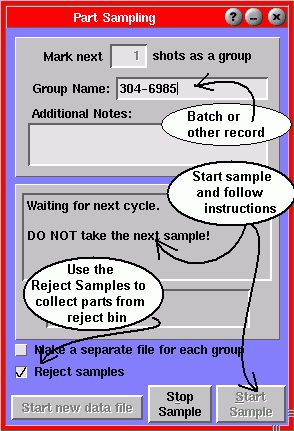
This graphic describes how to use Part Sampling in this way:
